
By Rahul Gupta
Rahul Gupta is the Senior Director of Solutions Architecture at Hazelcast, where he continues to solve a wide range of business initiatives, largely in Big data and Real-Time processing space, with modern yet trusted technology for a good part of 15 years. Today, Hazelcast is a distributed platform comprising in-memory data store and stream/batch processing engine to solve complex data problems requiring running extreme workloads. Rahul has traveled the world, speaking at various international conferences, tech meetups, and large user groups worldwide. He is an avid blogger and has written many pieces on Hazelcast and related technologies, real-life use cases, and case studies.
View all blogs by the authorJan 26, 2017
Hazelcast for Pivotal Cloud Foundry: Seamless On-demand Deployment and Management
In my previous blog about Cloud Foundry, we looked at ways of deploying a Hazelcast cluster as a service on open source Cloud Foundry through a service broker. There was a limitation with that broker—all Hazelcast nodes that would start as CF service instances would be created on a single or a common virtual machine. This meant that the cluster would remain unavailable in case that the VM was not accessible and in the time that Cloud Foundry BOSH would take to recreate the VM.
Hazelcast identified this problem early and decided to invest effort in finding a solution. As a result, we have now released the first Pivotal® tile that uses Pivotal’s On-Demand Services SDK. The On-Demand Services SDK simplifies broker and tile authoring and is fast becoming a standard approach to create on-demand services for PCF.
The On-Demand Broker (ODB) SDK provides a generic ODB that allows services to be created by answering API calls from the cloud controller at run time. The on-demand SDK leverages BOSH 2.0 capabilities that provide greater flexibility and on-demand provisioning of VMs. This therefore allows a BOSH director to create new VMs for each service instance on the create-service/update-service request coming from the service broker. The ODB then deploys service instances on these BOSH-managed VMs. As a result, the tile does not remain subject to the limitations of running inside a containerized solution–providing users with the flexibility to configure nodes as if they were manual instructions.
In next sections, we will learn more about the Hazelcast tile for PCF and how to deploy/update a Hazelcast cluster leveraging on-demand capabilities.
Hazelcast and Pivotal
Hazelcast and Pivotal are official network partners, which further means all Hazelcast PCF artifacts are available to download from https://network.pivotal.io/. As a result of this relationship, Hazelcast engineers now have access to the latest and greatest of Pivotal’s Cloud Foundry development ecosystem.
What’s Inside the Tile?
The Hazelcast PCF tile contains a Hazelcast BOSH release that uses Hazelcast Enterprise v.3.7.4 to create cluster members. Therefore you will need a Hazelcast IMDG Enterprise or Enterprise HD license key; go to https://hazelcast.com/download to get a free trial license key. The Hazelcast PCF tile also has support for Hazelcast Management Center which we will show how to configure in a later section.
Since ODB is not an open source feature, the tile can only be deployed on Pivotal Cloud Foundry Elastic Runtime, which is the enterprise version of Cloud Foundry. Another important thing to know is that ODB is only compatible with PCF v.1.8 and above; therefore, make sure you are on the correct PCF version.
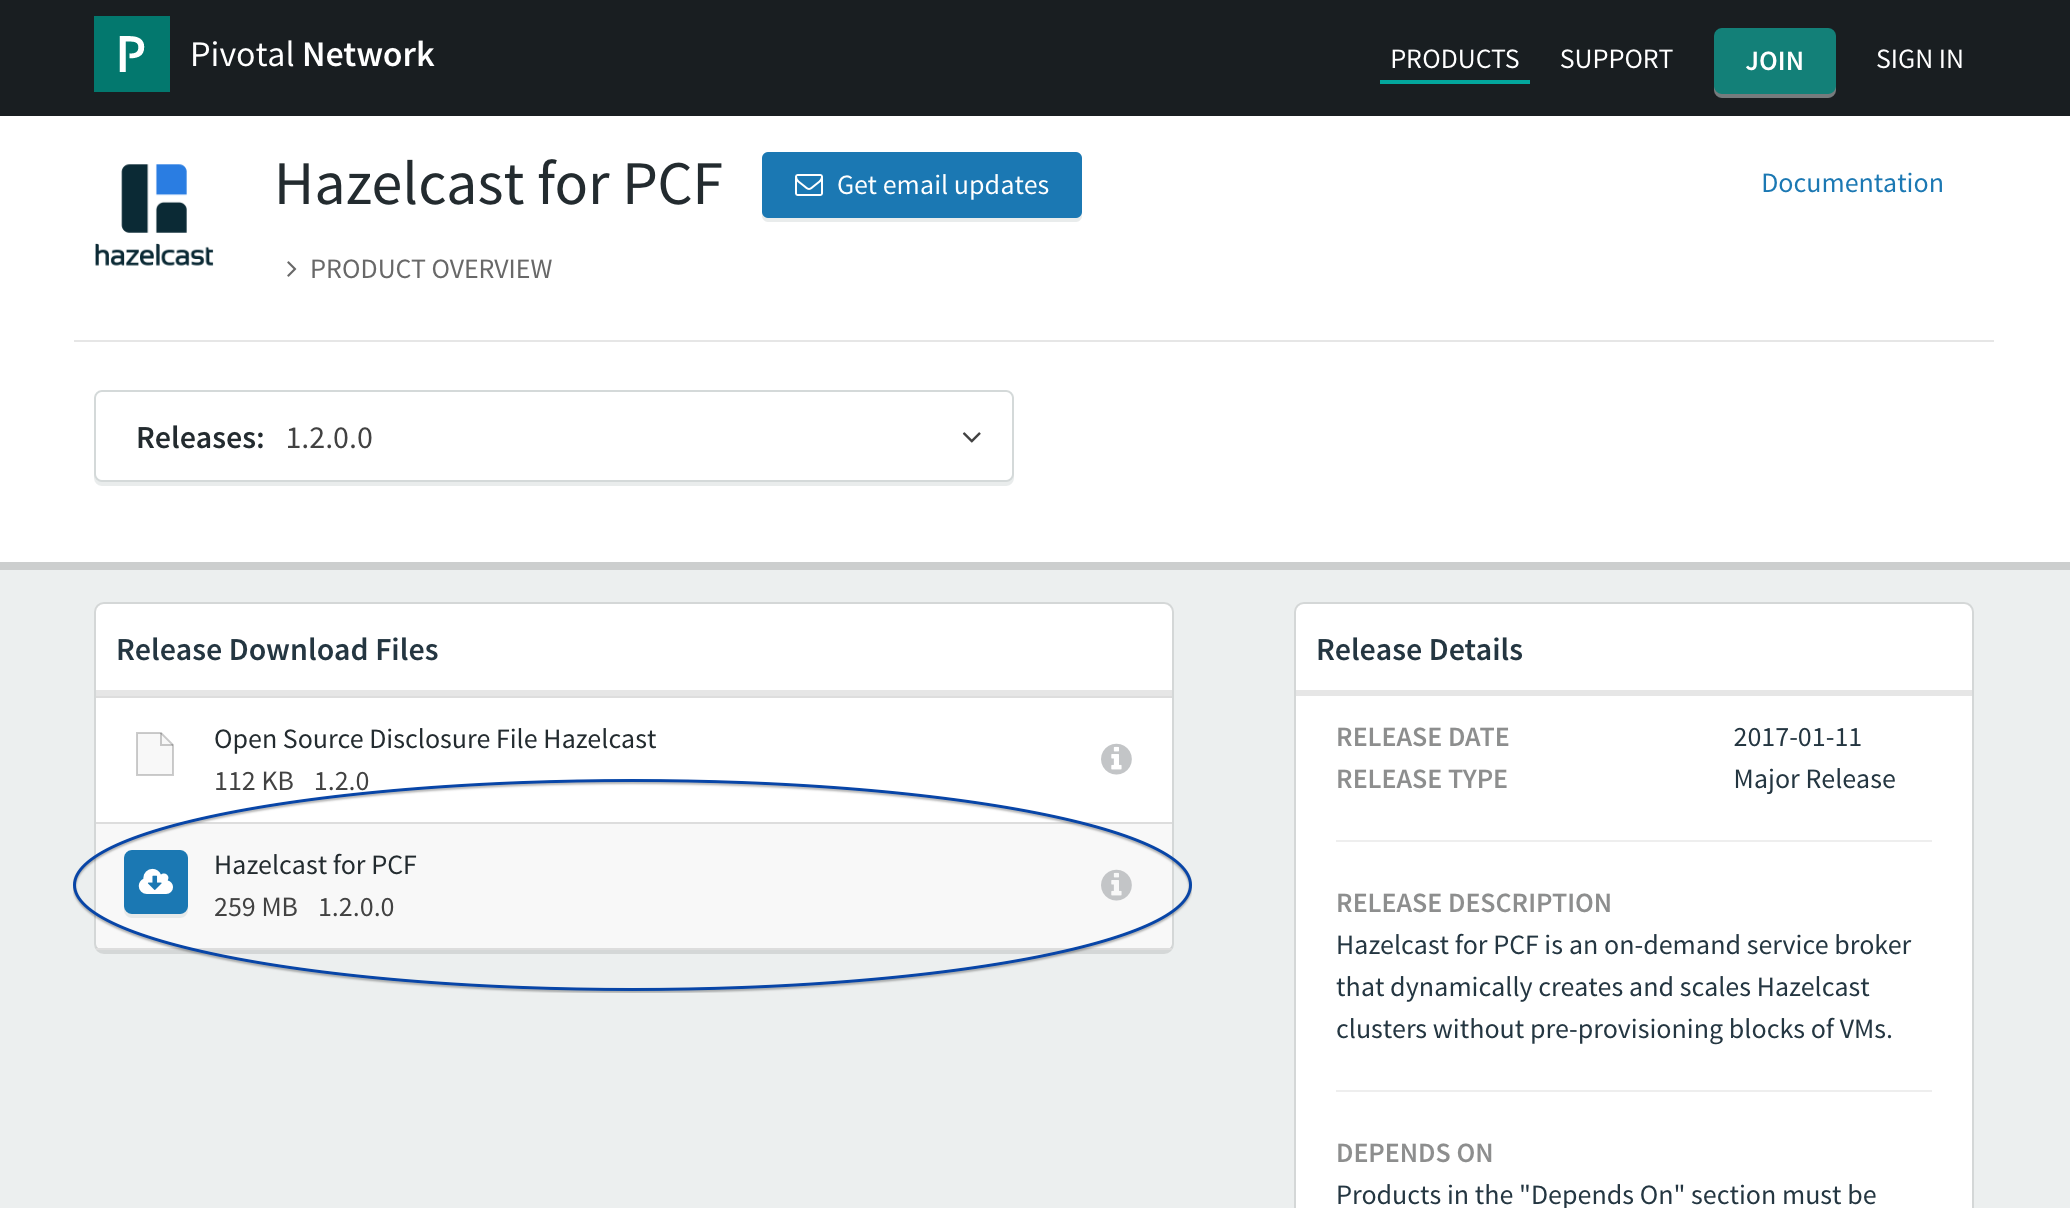
Download your .pivotal file from PivNet at https://network.pivotal.io/products/hazelcast
Hazelcast Service
Follow the instructions at https://docs.pivotal.io/hazelcast/installing.html to install the Hazelcast tile on Pivotal Elastic Runtime through Ops Manager. Once you have successfully installed the tile (this also assumes that you have created multiple service plans while configuring the tile), the environment should look something similar to this:

Open up a terminal window and login to your CF environment. You can obtain login credentials from your PCF operator. The command to login is:
cf login -a $URL_TO_YOUR_PCF_INSTALLATION
A successful login looks similar to:

The tile when installed automatically registers itself with Marketplace. Run cf marketplace to verify that you are able to see the plans that you had earlier created while installing the tile.

Create Your Hazelcast Service
You are all set to create your first Hazelcast service on PCF where each member is going to run on its dedicated virtual machine. The tile’s BOSH release accepts Hazelcast configuration in .json format and not .xml. An sample hazelcast.json is provided with the documentation at https://github.com/hazelcast/hazelcast-code-samples/blob/master/hazelcast-integration/pcf-integration/hazelcast.json. Let’s take a look at some of the important parameters in the json:
instanceCount: Number of Hazelcast instances. This value overrides the value of Hazelcast Instances field in Tile configuration.
managementCenterConfig: Management Center configuration
mancenterAppName: Routing name for Management Center
jvmOptions: jvm options for Hazelcast server process
Let’s set the values of above-mentioned fields as below: “instanceCount”:2, “mancenterAppName”:”mancenter-yourname” “managementCenterConfig”:{“enabled”:true,”updateInterval”:3},
Time to create the first Hazelcast service:

Let’s bifurcate the ‘create-service’ command and understand what each of the components mean:
hazelcast: Name of the service in marketplace t2.micro: Name of the service plan in marketplace rahul-micro-svc: Name of the service we are going to create
As shown above, .json must be provided as the value to -c attribute of create-service command.
At this point, BOSH will create new virtual machines, one for each instance, and start a Hazelcast member on it. You can monitor the progress at the BOSH console using bosh tasks in Ops-Manager VM:

A status check of cf services or cf service would show the following:

Creating VMs takes a few seconds; therefore give the system enough room to perform its activities for creating and deploying the service.
Once completed, cf services status would be:

Now, you might be excited to see the IP addresses of VMs created. Run bosh vms inside Ops-Manager VM to view the service VMs:

Voila! As we now see, both Hazelcast instances are running on separate VMs.
To access Hazelcast Management Center, use the following URL with the appropriate routing name: http://mancenter-rahul.apps.yourdomain.com/mancenter/main.jsp and verify the IP addresses of the Hazelcast cluster nodes:

Update the Hazelcast Service
Once you have a Hazelcast service up and running and you want to perform an update to the cluster configurations or change the topology to add/remove nodes, you’ll have to perform the following:
- Update hazelcast.json for required changes in cluster configuration
- If you wish to add/remove nodes, change the value of instanceCount in .json
- Run cf update-service -c
Note: You can also use -p parameter to change the service plan.
Let’s try to update the service we created above to add two Hazelcast server nodes to the existing cluster:
Change the value of instanceCount in hazelcast.json to 4
Run cf update-service command to apply changes:

Monitor BOSH progress in bosh tasks

Run bosh vms in Ops-Manager VM to see the state of service VMs:

And finally, verify your updated cluster setup in Management Center:

Note: Hazelcast will release a new tile for all Hazelcast minor and major versions, starting from 3.7.4.
For more information on On-Demand SDK and Broker, visit https://docs.pivotal.io/svc-sdk/odb/0-15/ For Hazelcast Tile on PivNet, visit For Hazelcast Tile documentation, visit https://docs.pivotal.io/hazelcast/index.html For more information on Pivotal Cloud Foundry, visit http://docs.cloudfoundry.org/concepts/overview.html For more information on BOSH, visit http://bosh.io/docs/ For more information on Custom Services, visit http://docs.cloudfoundry.org/services/ Pivotal is a registered trademark of Pivotal Software, Inc.